
This is a prime example of an assembly that might seem dauntingly complicated at first but actually isn't very difficult after actually practicing it once or twice.
The assembly itself is in five pieces, plus interfacing.

NOTE: If you have the original version of our pattern, you will need to re-draft the sleeve cuff band pattern piece, but it's easy! It's just a rectangle, 1 ⅞" tall and the same width as the division stripe and inner layer.
(Our original upper and lower band pieces were oversized for a different construction method, so you can actually just use one of them as a base and shorten it to 1 ⅞"! We now also use the same pattern piece for both the upper and lower sleeve cuff bands, so that makes everything easier, too!)
First, fuse the interfacing to the sleeve cuff bands (piece N).
This will give them more dimension, as they tend to look disappointingly flat without it. It will also make the cuff sturdier, which is particularly important for the upper band; you don't want it to flop around!
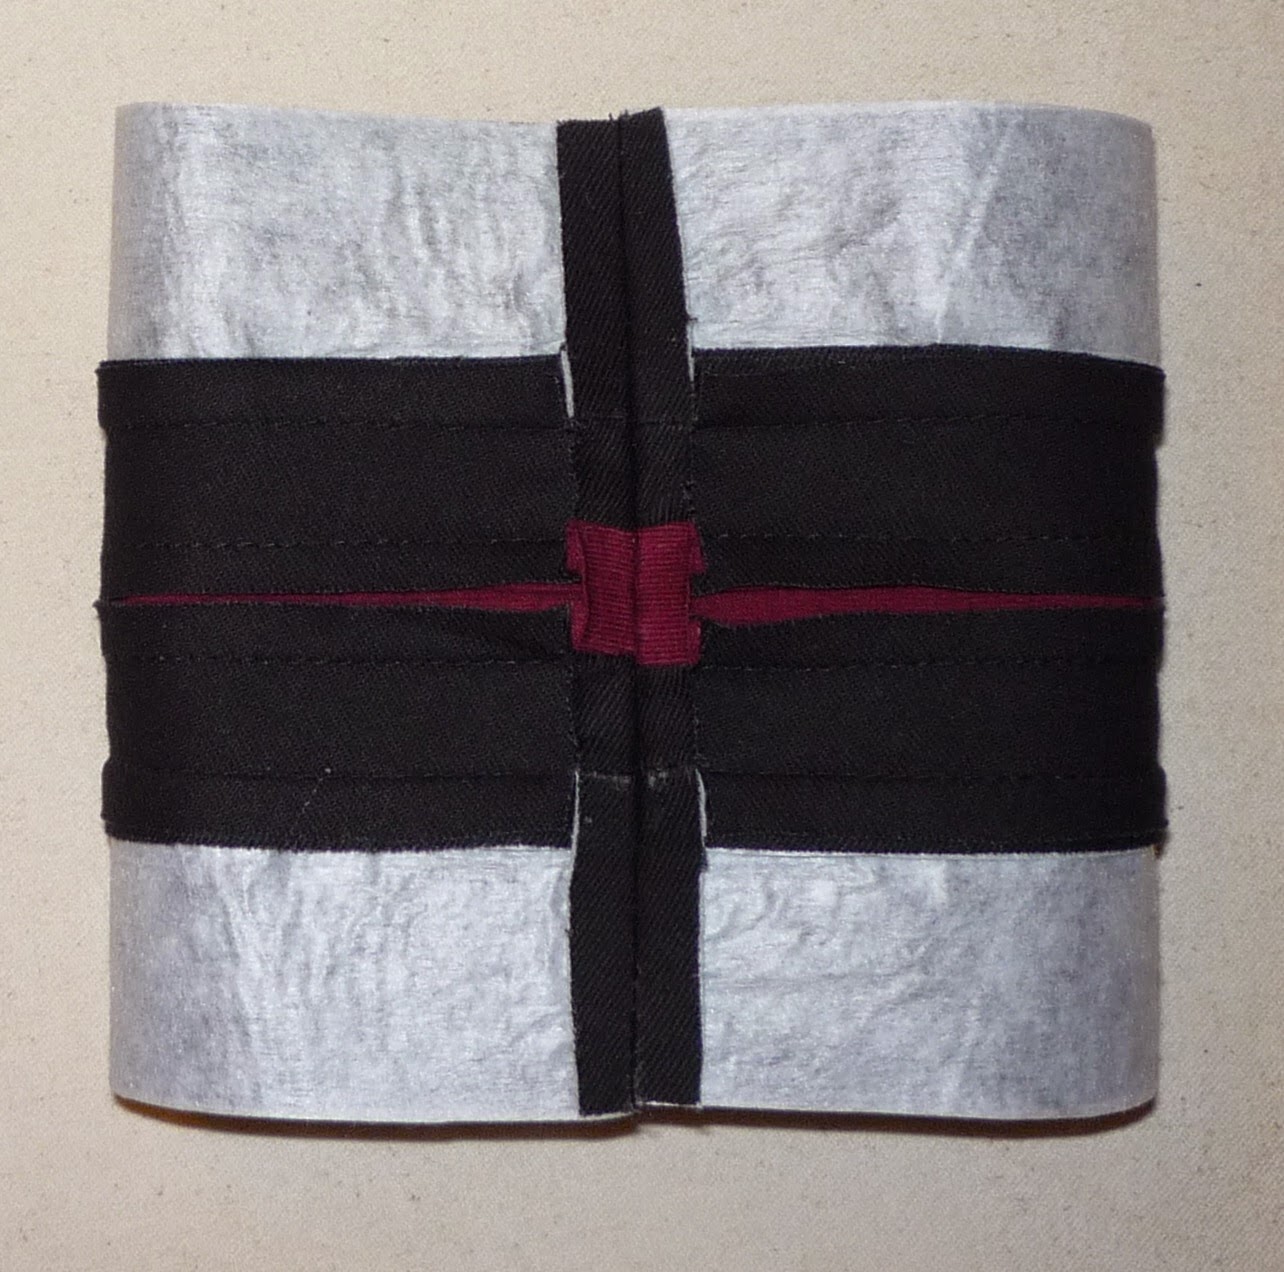
The sleeve cuff pattern pieces, "in order," will look like this:

Start by sewing the upper band (piece N) to the inner layer (piece O), right sides together and edges flush.

Press the seam allowances upward, and press the inner layer down.

Fold the band piece over the seam allowances and press it down toward the underside, so that the wrong sides of the band and inner layer are facing and their lower edges are flush. This forms the actual band.

Sew the upper band assembly to the division stripe with ¼" seam allowance, with the long edges of the division stripe and the inner layer flush and right sides together.

Press the seam allowances toward the division stripe.
Repeat for the bottom half of the cuff.

Sew the sleeve cuff closed along the sides (with the bands open), matching seam lines and right sides facing.

 Press the seam allowances open.
Turn the sleeve cuff assembly right side out and fold the bands under again.
Pin the undersides of the bands in place along the band/inner layer seam lines.

"Stitch in the ditch" along the band/inner layer seam lines to secure the undersides of the bands.

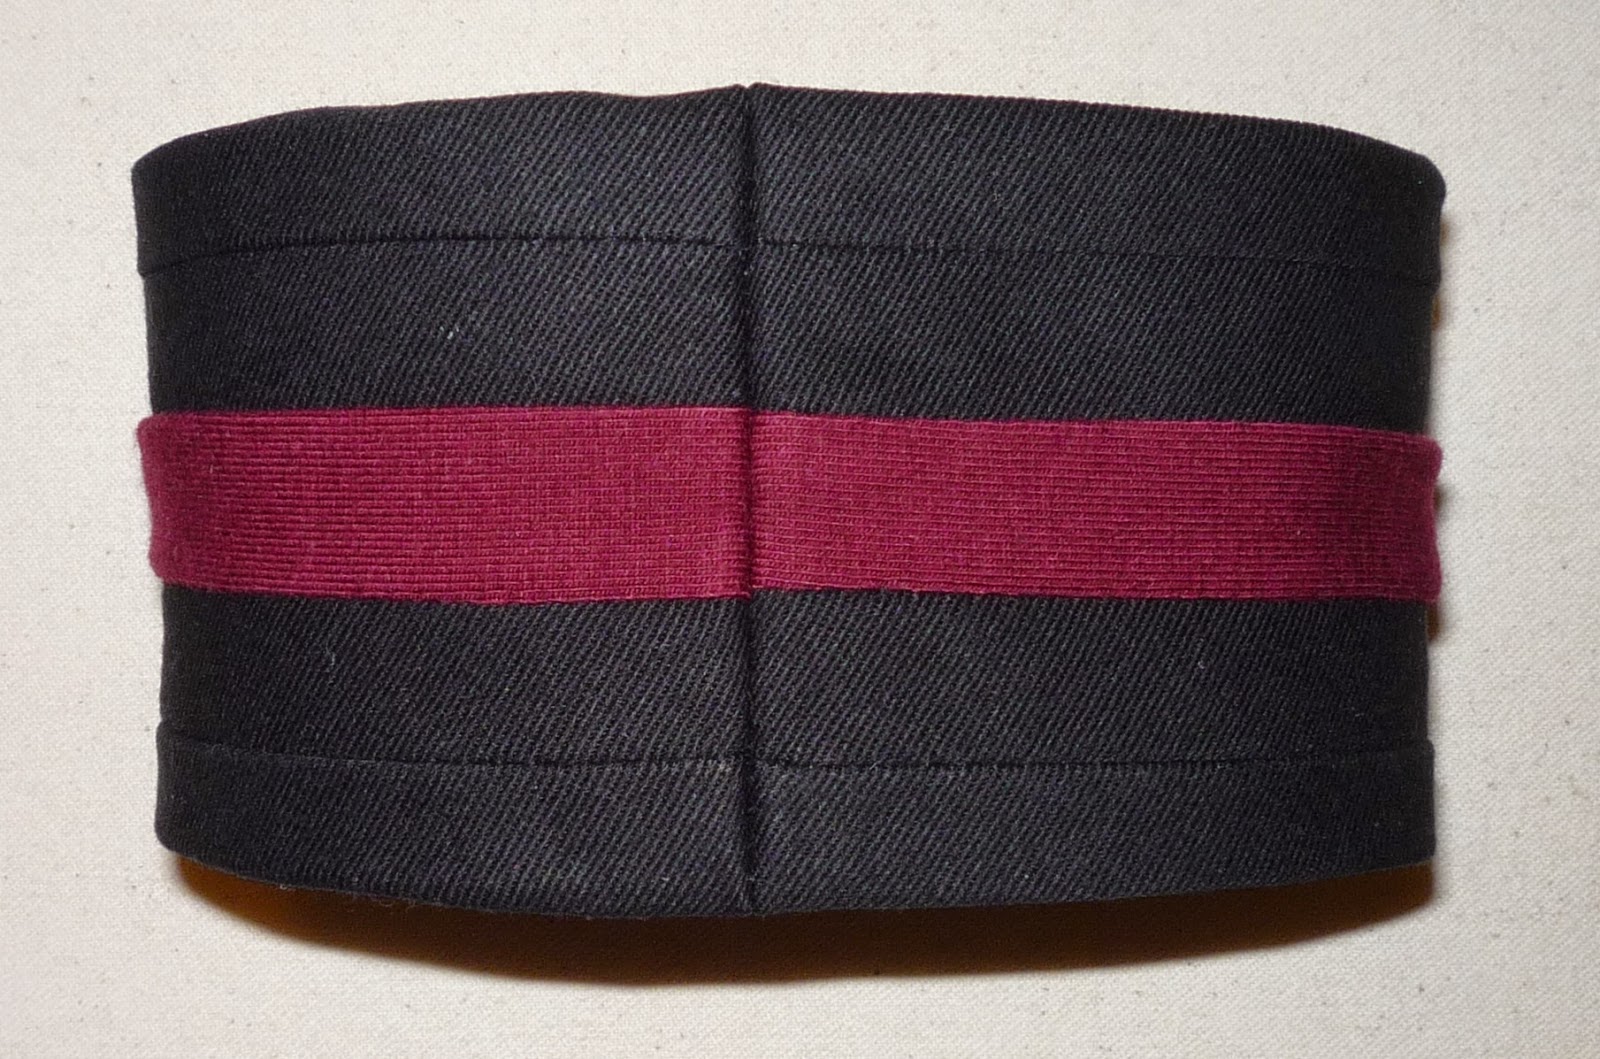
Your sleeve cuff should now look finished - how it will once it's on the actual sleeve.


Press the sleeve hem allowance (2½") upward and pin.

Topstitch the hem allowance in place about 2" from the bottom.


You'll be able to see the stitching on the right side of the sleeve, but don't worry; it'll be covered by the sleeve cuff once it's attached!
"Mount" the sleeve cuff onto the sleeve, matching bottom edges and seam lines, and pin into place.
"Stitch in the ditch" again along the band/inner layer seam lines to secure the sleeve cuff to the sleeve.

Your finished sleeve cuff should now look like this:


No comments:
Post a Comment