
On the reverse side of the yoke trim, lightly mark with a disappearing ink marker (or your tailor's/dressmaker's white pencil) where the body panel seam should align. This is noted for reference on the printed pattern piece.

Place the front yoke on top of the front body assembly, right sides facing, with the free edge of the yoke trim and the top of the body assembly flush and the body seam appropriately aligned with the quilt line and/or your marking.
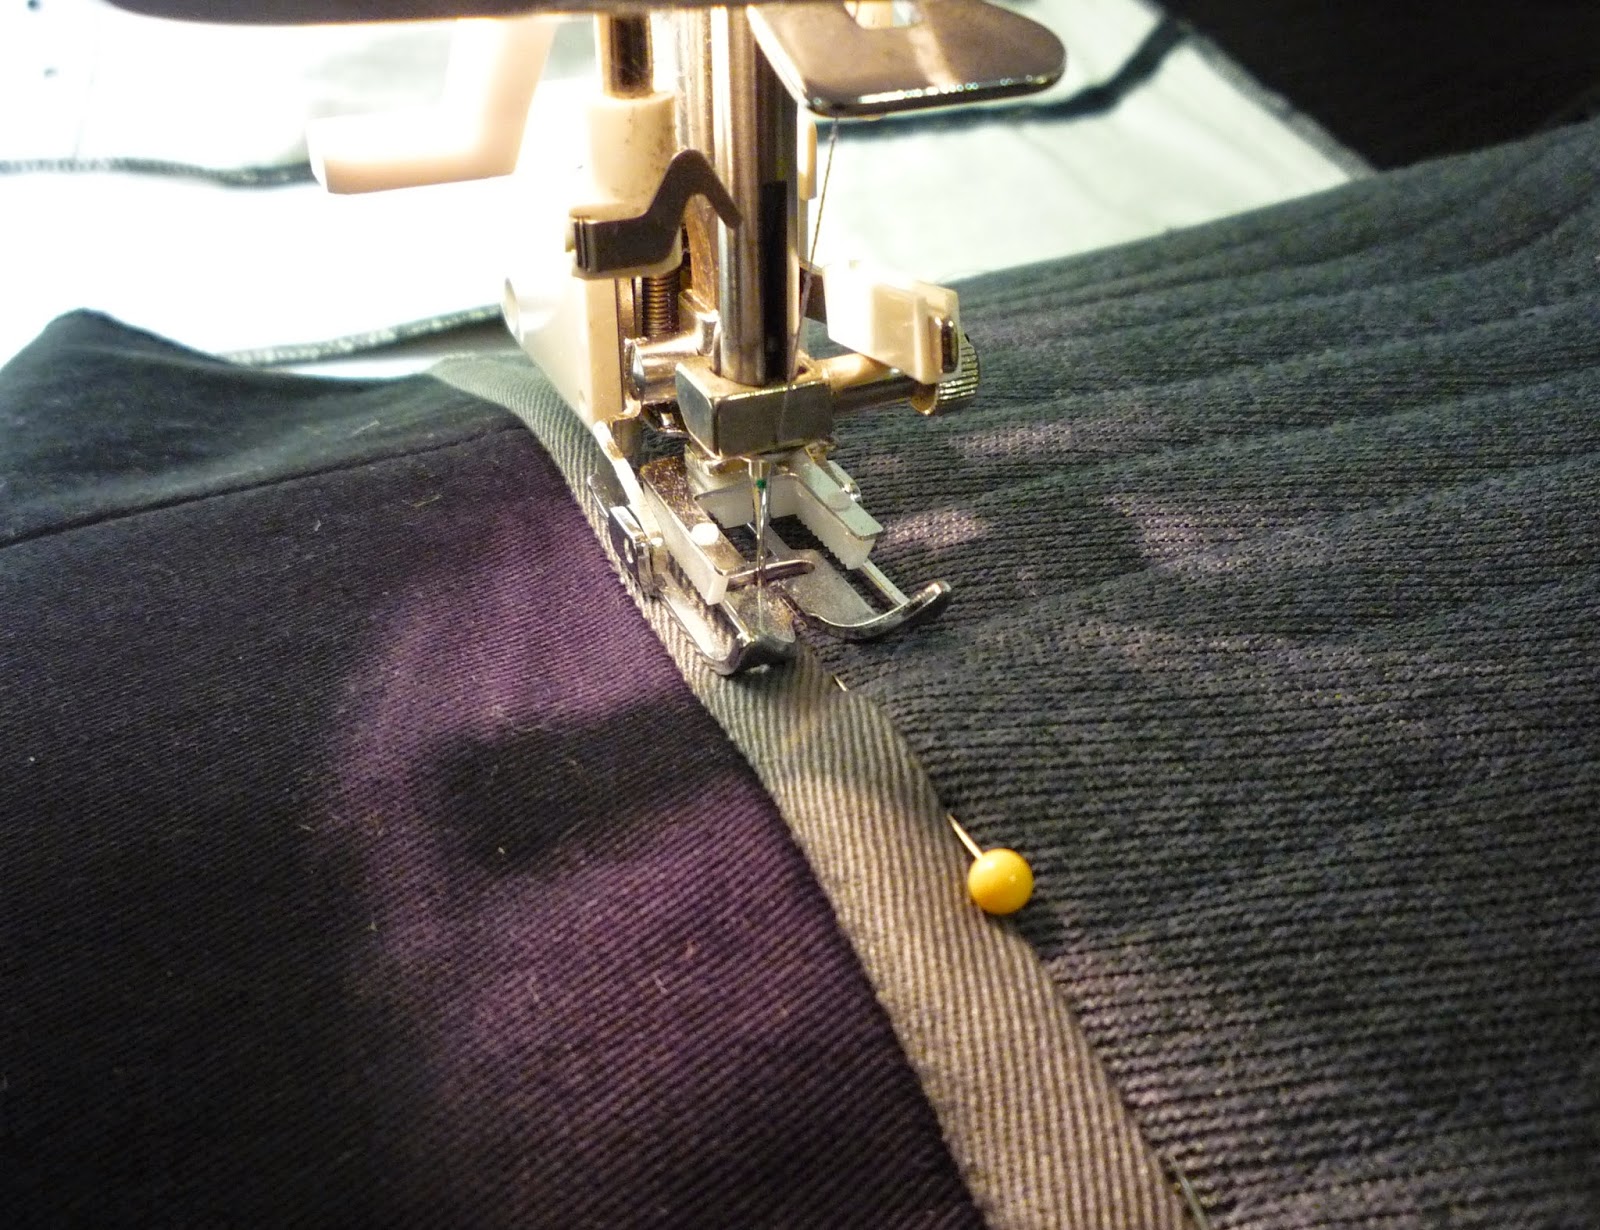
Using a zipper/piping/edge-stitching foot, sew the yoke trim to the front body assembly with a ⅝" seam allowance.

OPTIONAL: Serge the yoke trim and body seam allowance together (even though the body is already serged).

Press the seam allowance upward, then, with your quilting/walking foot and gray thread, "stitch in the ditch" along the top of the yoke trim and secure the seam allowance in place.
Repeat this process for the other front yoke/body assembly, then again for the back body assembly.


No comments:
Post a Comment