
Place a piece of zipper trim (piece Z) on top of the left center front body panel, right sides facing, with the top edge of the zipper trim flush with the top edge of the yoke trim. The zipper trim should extend 1" beyond the bottom of the jacket.

Starting at the bottom of the jacket, sew the zipper trim to the jacket, stopping roughly 2" from the top of the length of trim.
Press the top portion of the zipper trim downward so that the fold is flush with the bottom of the yoke trim.

Place the neckline trim (piece Y) on the left yoke and folded zipper, right sides facing, with the edge of the neckline trim and the edge of the zipper trim flush.

Pin the two pieces of trim together, then sew them together along the crease in the zipper trim.

Confirm that the trim seam is flush with the yoke/body seam.
You want it to look like this:

Not this:
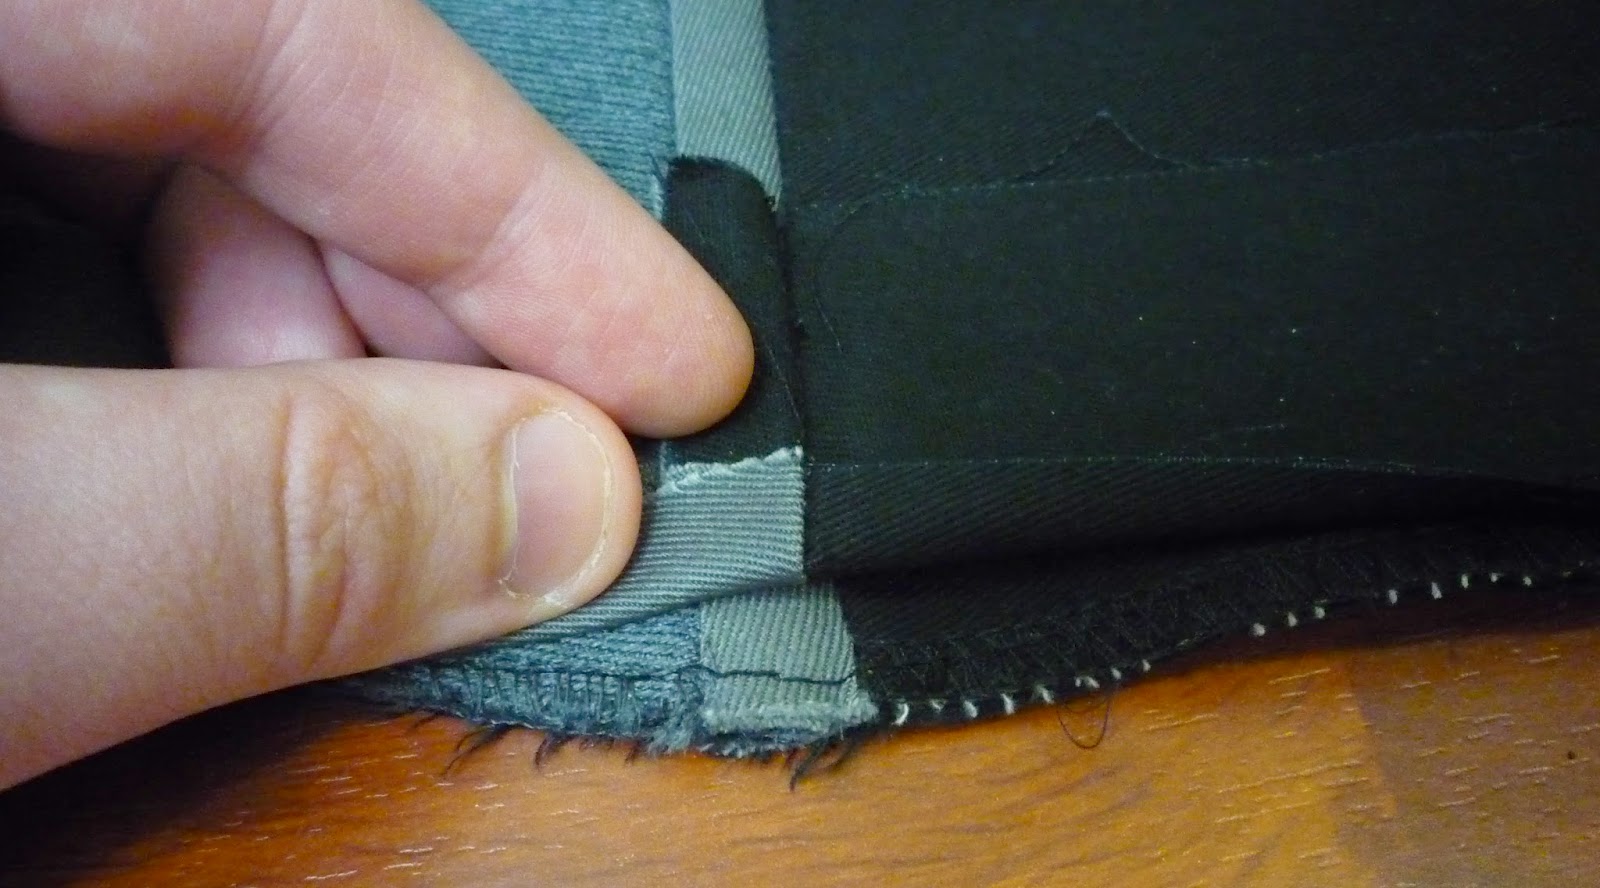
However, if it is off a little bit, simply take in the seam until it's properly aligned. The trim pieces are intentionally a bit long.
Once you're satisfied with the alignment, clip the seam allowances down to ⅛" and press them open.

Pin in place, the continue the zipper trim stitch from where you left off to just above the trim seam (catching the trim's seam allowances), then stop.

For the Picard First Contact/Insurrection version, clip the corner of the front opening in a slightly rounded manner, removing the "hard" corner and making a nice, subtly rounded turn.

Rotate the neckline trim so that its edge is flush with the front opening.
Pin in place.

 Sew the neckline trim around the rounded corner, using your quilting/walking foot and gray thread.
Continue around the neckline, the opposite corner, and the opposite front opening, stopping roughly 2" from the bottom of the yoke.
Repeat the process of sewing the neckline trim and the zipper trim together, in the opposite direction.
For the Picard NEM and Sisko versions, rotate the neckline trim so that its edge is flush with the front opening.
Pin in place.
Fold the neckline trim over at the corner of the front opening so that, at the edge of the neckline, the trim is at the appropriate angle for the miter. Press.

Unfold the trim, then stitch all the way to the crease.
With the needle in the fabric, lift the presser foot and rotate the shoulder point so that the crease is facing you. Lower the presser foot and stitch to the edge along the crease line.


 It's the same mitering process you did earlier with the shoulder point.
Repeat the process here with the corner of the front opening, stitch around the neckline, and repeat the process again for the opposite corner.
Then repeat the process of sewing the neckline trim and zipper trim together.
Turn the trim under and press it away from the yoke.

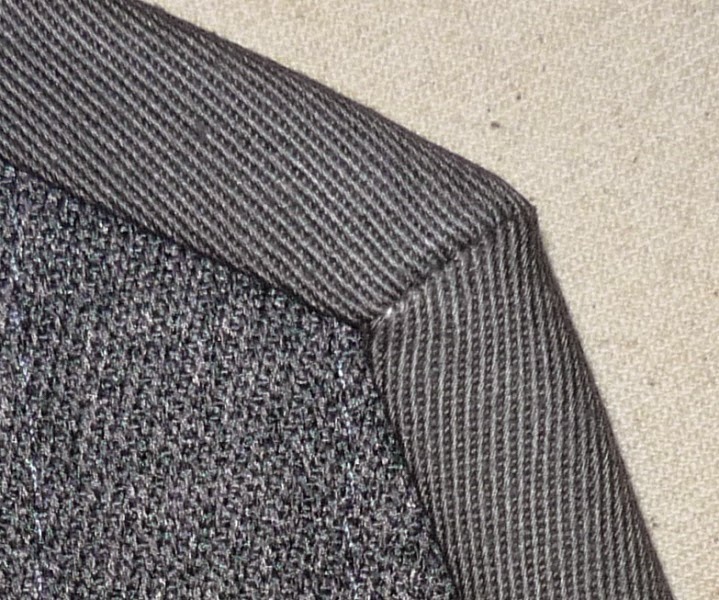 And how about those beautiful machine-sewn miters, just like the screen-used???
 Again, we'd like to extend another special thank-you to Kenneth King, author of Cool Couture, as his online "mitering a Hong Kong finish" tutorial was instrumental in helping us reverse-engineer this mitering process!
No comments:
Post a Comment